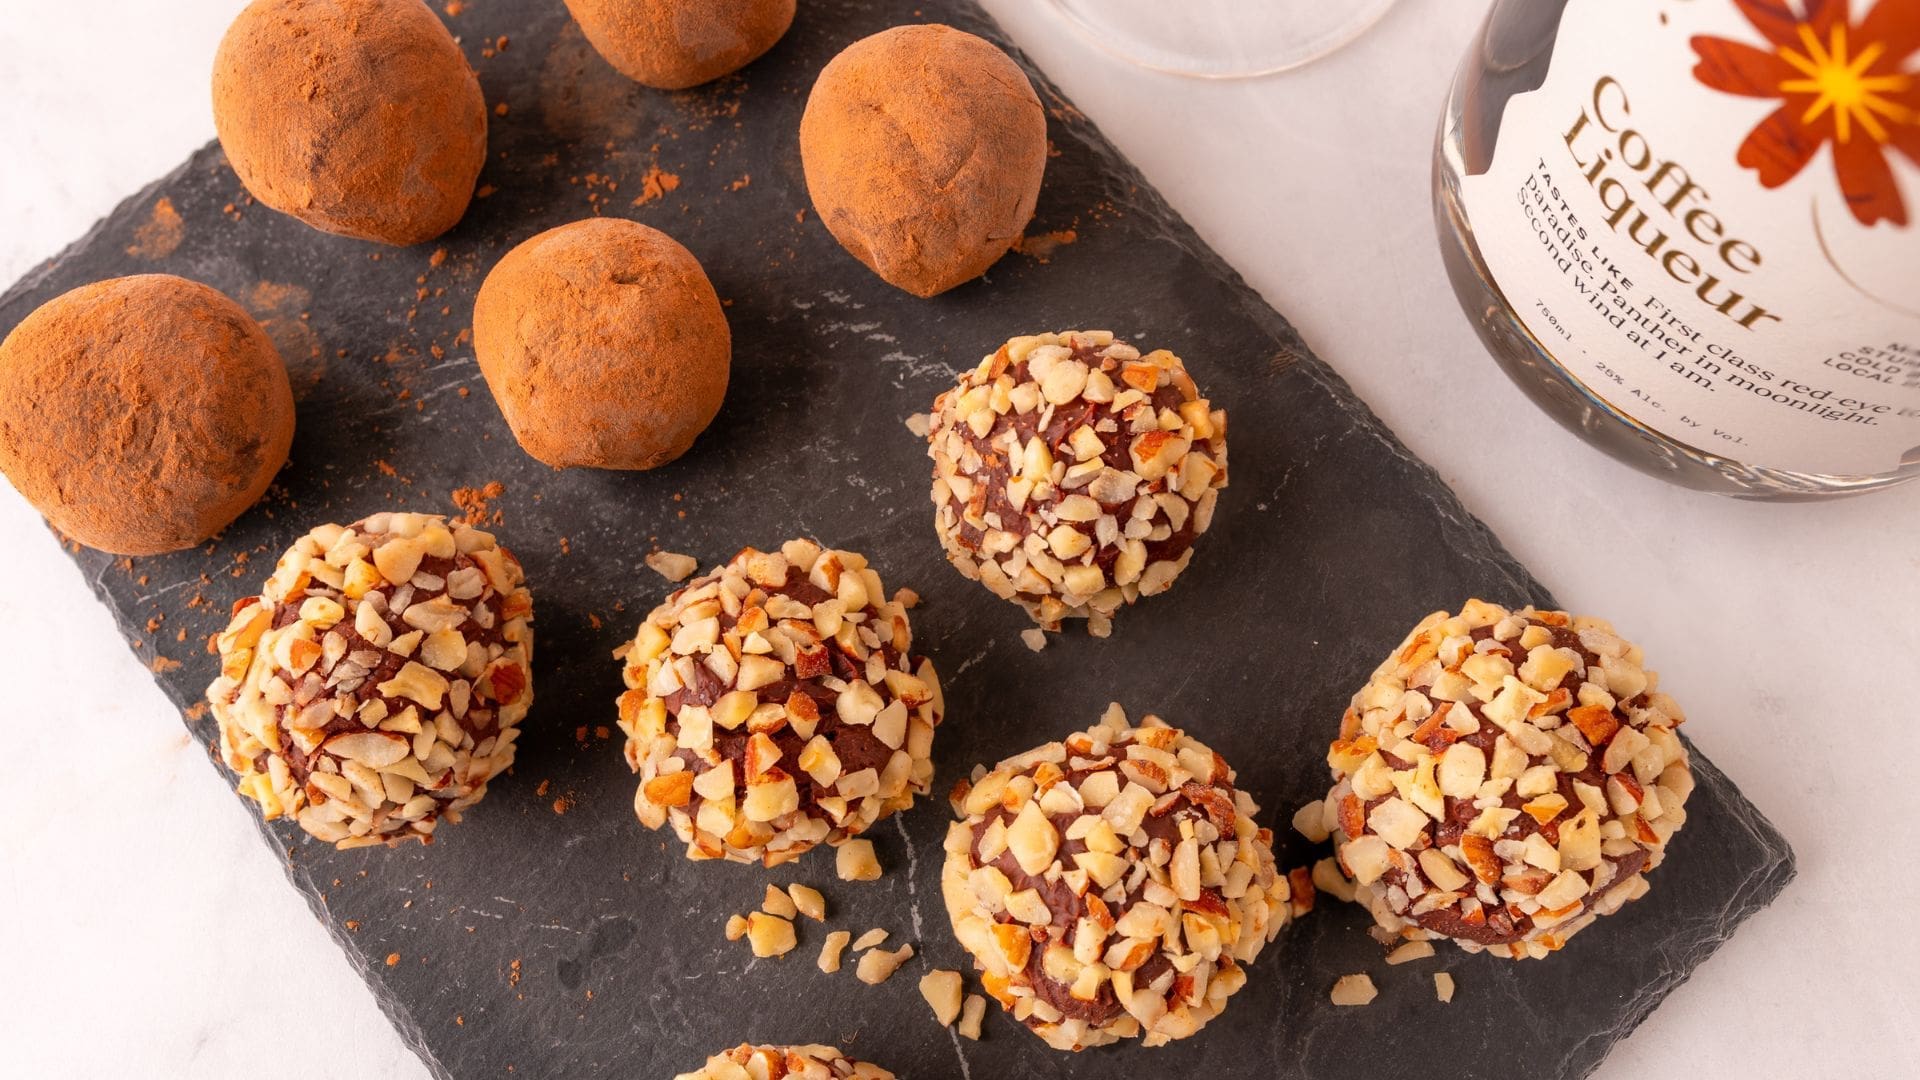
Around this time of the year, I start brainstorming quick, edible creations that can be used as stocking stuffers, gift add-ons or even just treats to have out for around-the-clock snacking during the holidays. In years past, I’ve made cookies, cleverly decorated as snowmen, Christmas trees or other holiday icons. But this year, I wanted to do something different. Making fudge can be a difficult endeavor if it’s your first time, but there is an alternative to slaving over the stove with your thermometer all day. Instead, fake it by melting together quality chocolate, condensed milk and sweet liqueur, then topping with crushed candies or nuts for added flare (and flavor), as a fast, foolproof way to make a festive, edible gift in pinch.
Any liqueur that complements chocolate will work in this recipe (i.e. coffee, orange, peppermint), and the best part is that so many local distilleries are hopping on the holiday bandwagon with releases inspired by the season. I decided to load my chocolatey morsels with Eastside Distilling’s limited release Holiday Peppermint Bark Liqueur. Peppermint and chocolate come together in this smooth and sweet spirit, adding a burst of holiday flavor to this quick and easy fudge recipe.
Prep time: 10 minutes
Chill time: 2 hours
Makes: one batch
Ingredients:
14-ounce can of sweetened condensed milk
12 ounces semi-sweet chocolate
¼ teaspoon kosher salt
3 tablespoons butter
1 teaspoon vanilla extract
¼ cup Eastside Distilling’s Holiday Peppermint Bark Liqueur
Candy cane crumbles for topping
Directions:
Grease a square, 9-incy by 9-inch baking dish using butter. Set aside.
In a pan over medium heat, warm condensed milk. Once the condensed milk is evenly heated through, slowly add chocolate chips, whisking until all of the chocolate is melted and the mixture is smooth.
Next, add salt, vanilla, butter and liqueur. Continue whisking until mixture is even and smooth. If necessary, reduce heat to low to ensure that the chocolate does not burn.
Pour contents of pan evenly into the pre-greased baking dish, using a spatula to smooth out any lumps. Next, take the crumbled candy canes (I find a Ziploc bag and rolling pin work great for crushing up these candies) and sprinkle in an even but heavy layer across the top of the fudge. You can use a spatula to gently press and set the candy cane pieces into the fudge.
When the fudge has cooled and set, any excess candy cane pieces can be removed with a gentle tap. Cool fudge in fridge for at least two hours, or until fudge has completely solidified. Once cooled, cut fudge into squares and enjoy!


